Build: Frame Assembly
Assembling the Solar Panel Mount
In this stage, we'll guide you to assemble the frame that the solar panel is mounted on.
By voluntarily building your own SunSaluter based on the content available here, you agree to take full responsibility for the assembly, maintenance and usage of the system and its parts. You are proceeding at your own risk and you release SunSaluter from any liability.

Step 1:
Using a tape measure or length of string, measure 2.5 feet (0.75 meters) on one of your four longer lumber (or other material) pieces.

Step 2:
Cut the lumber at the mark. Note: If your solar panel is larger than 1 meter in length, you may need to use longer wood.
Step 3:
Take two pieces of the 2.5 foot (0.75 meter) material that you just cut. They should be equal length and size. At one end of each piece, cut off a small section at a 45-degree angle. These angled ends will become the feet of the mount, so it will sit flat on the ground.
Step 4:
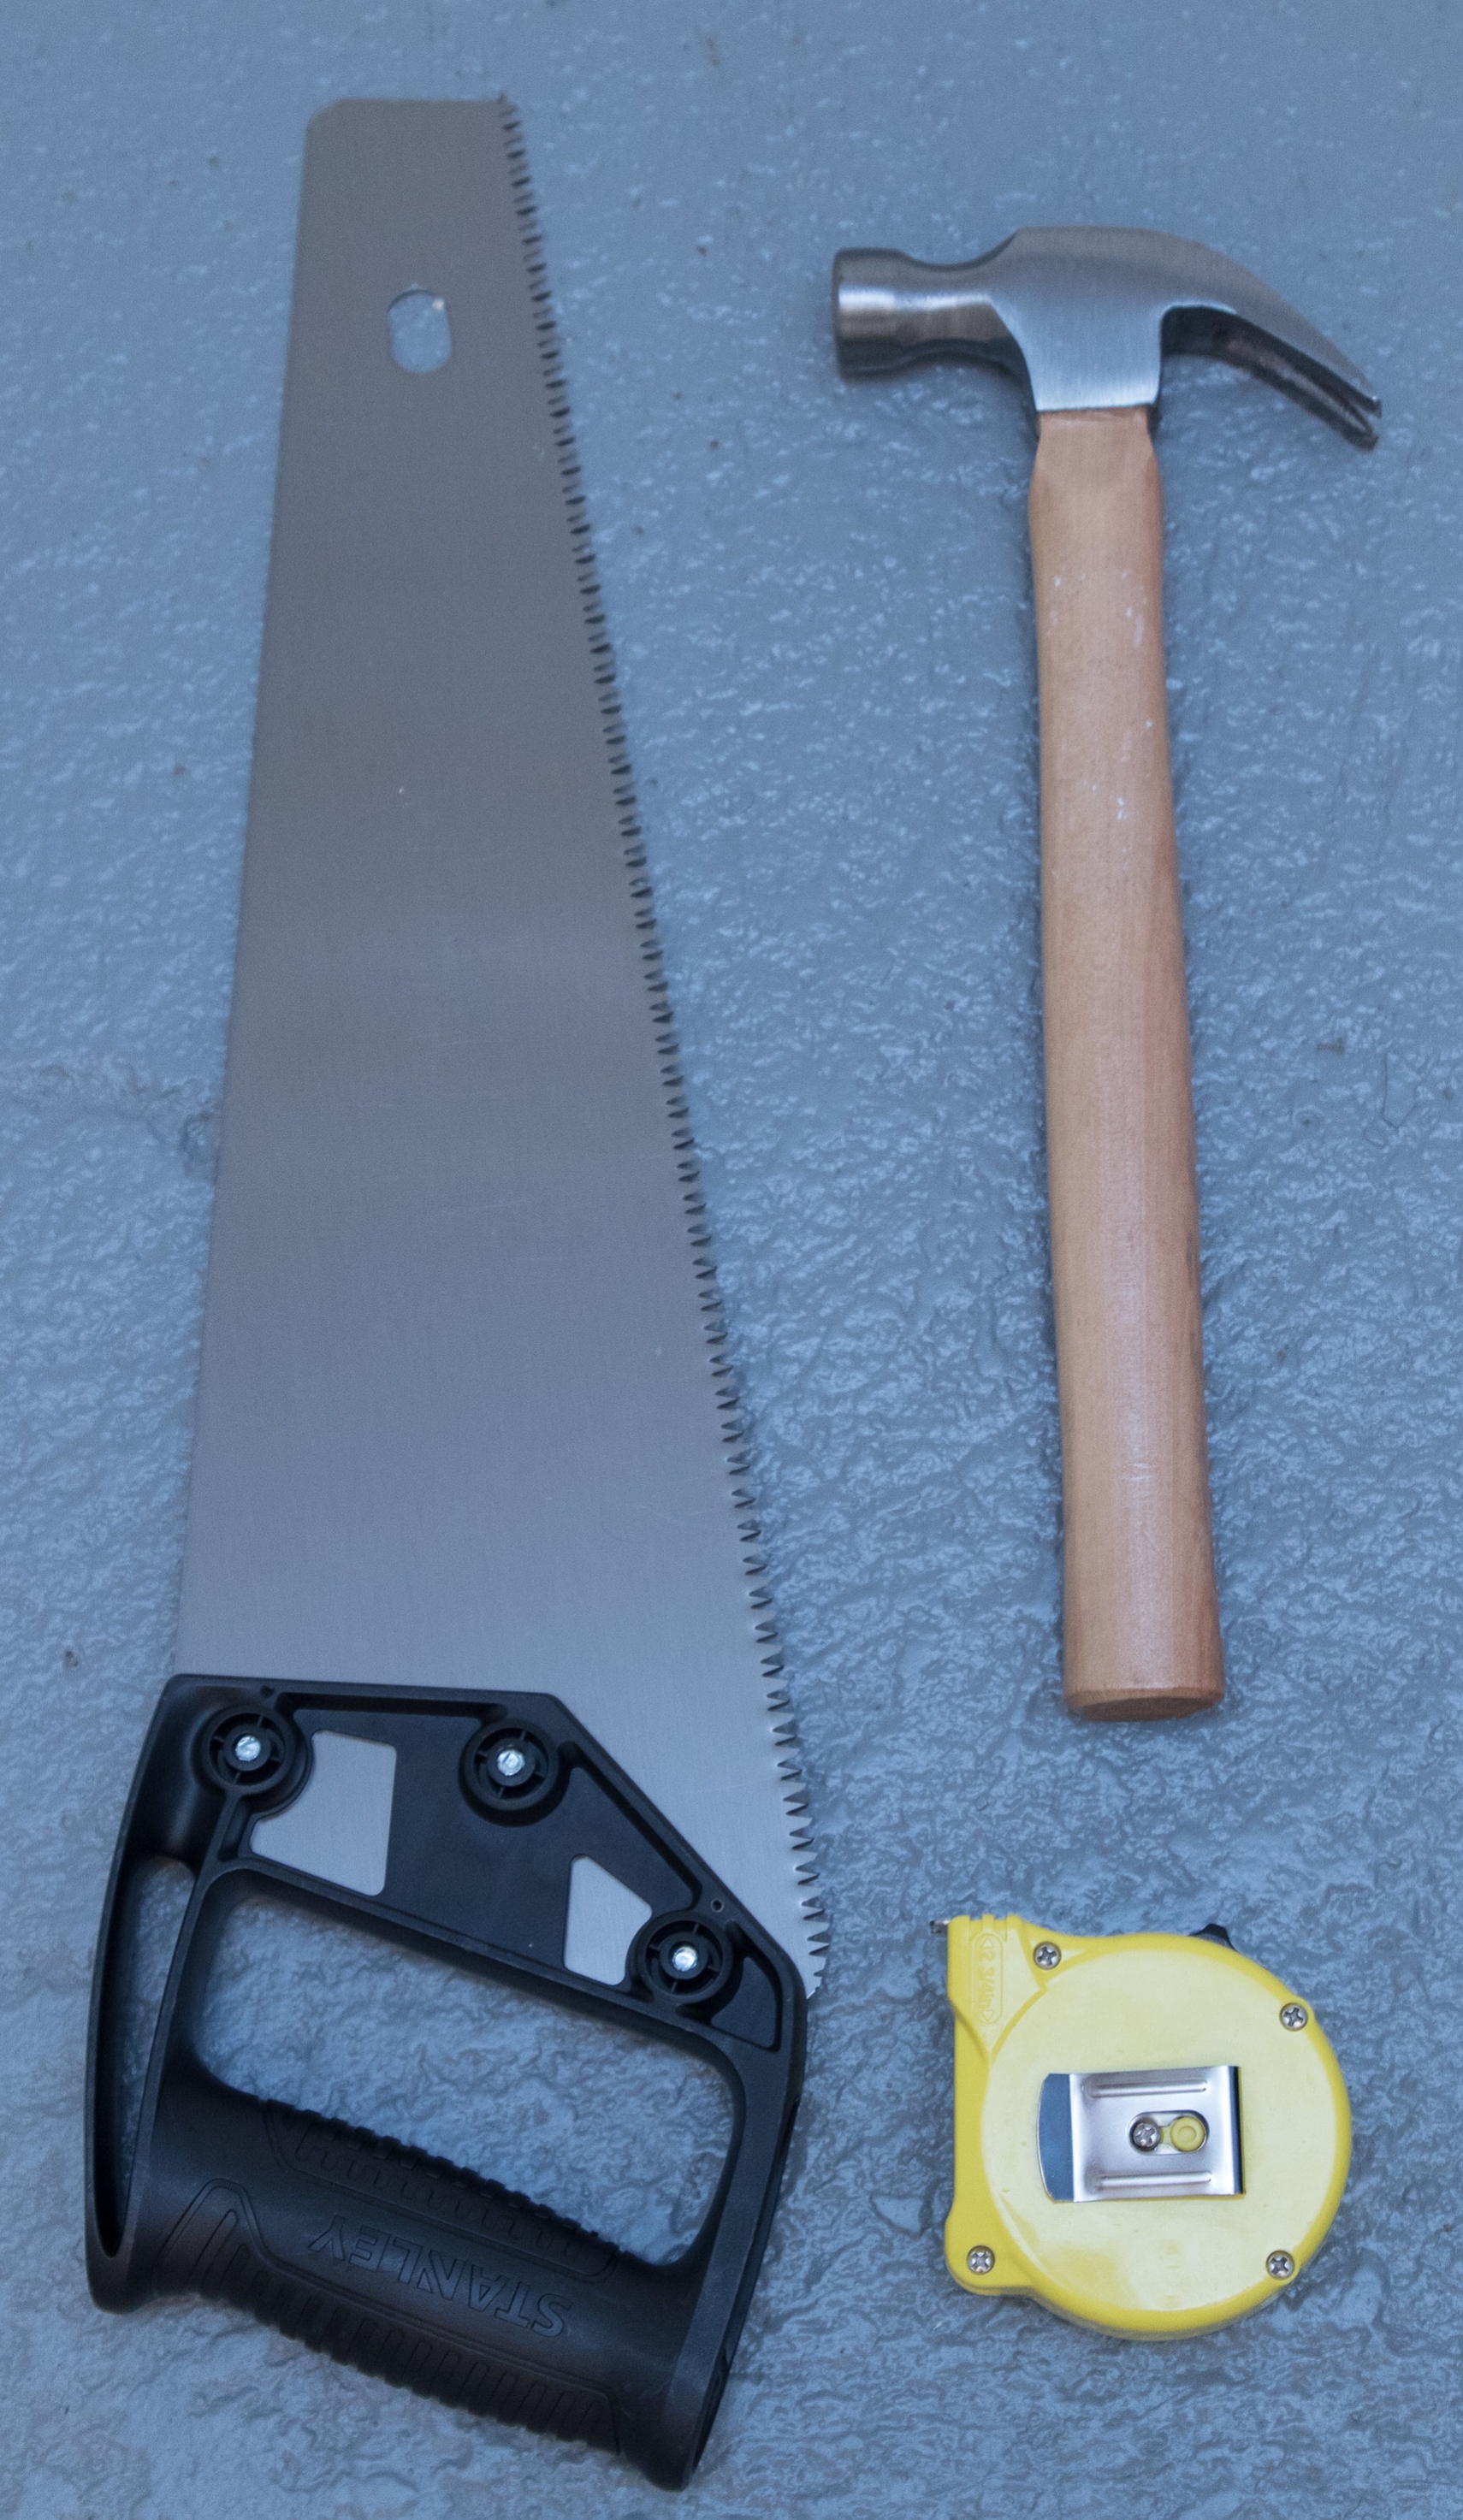
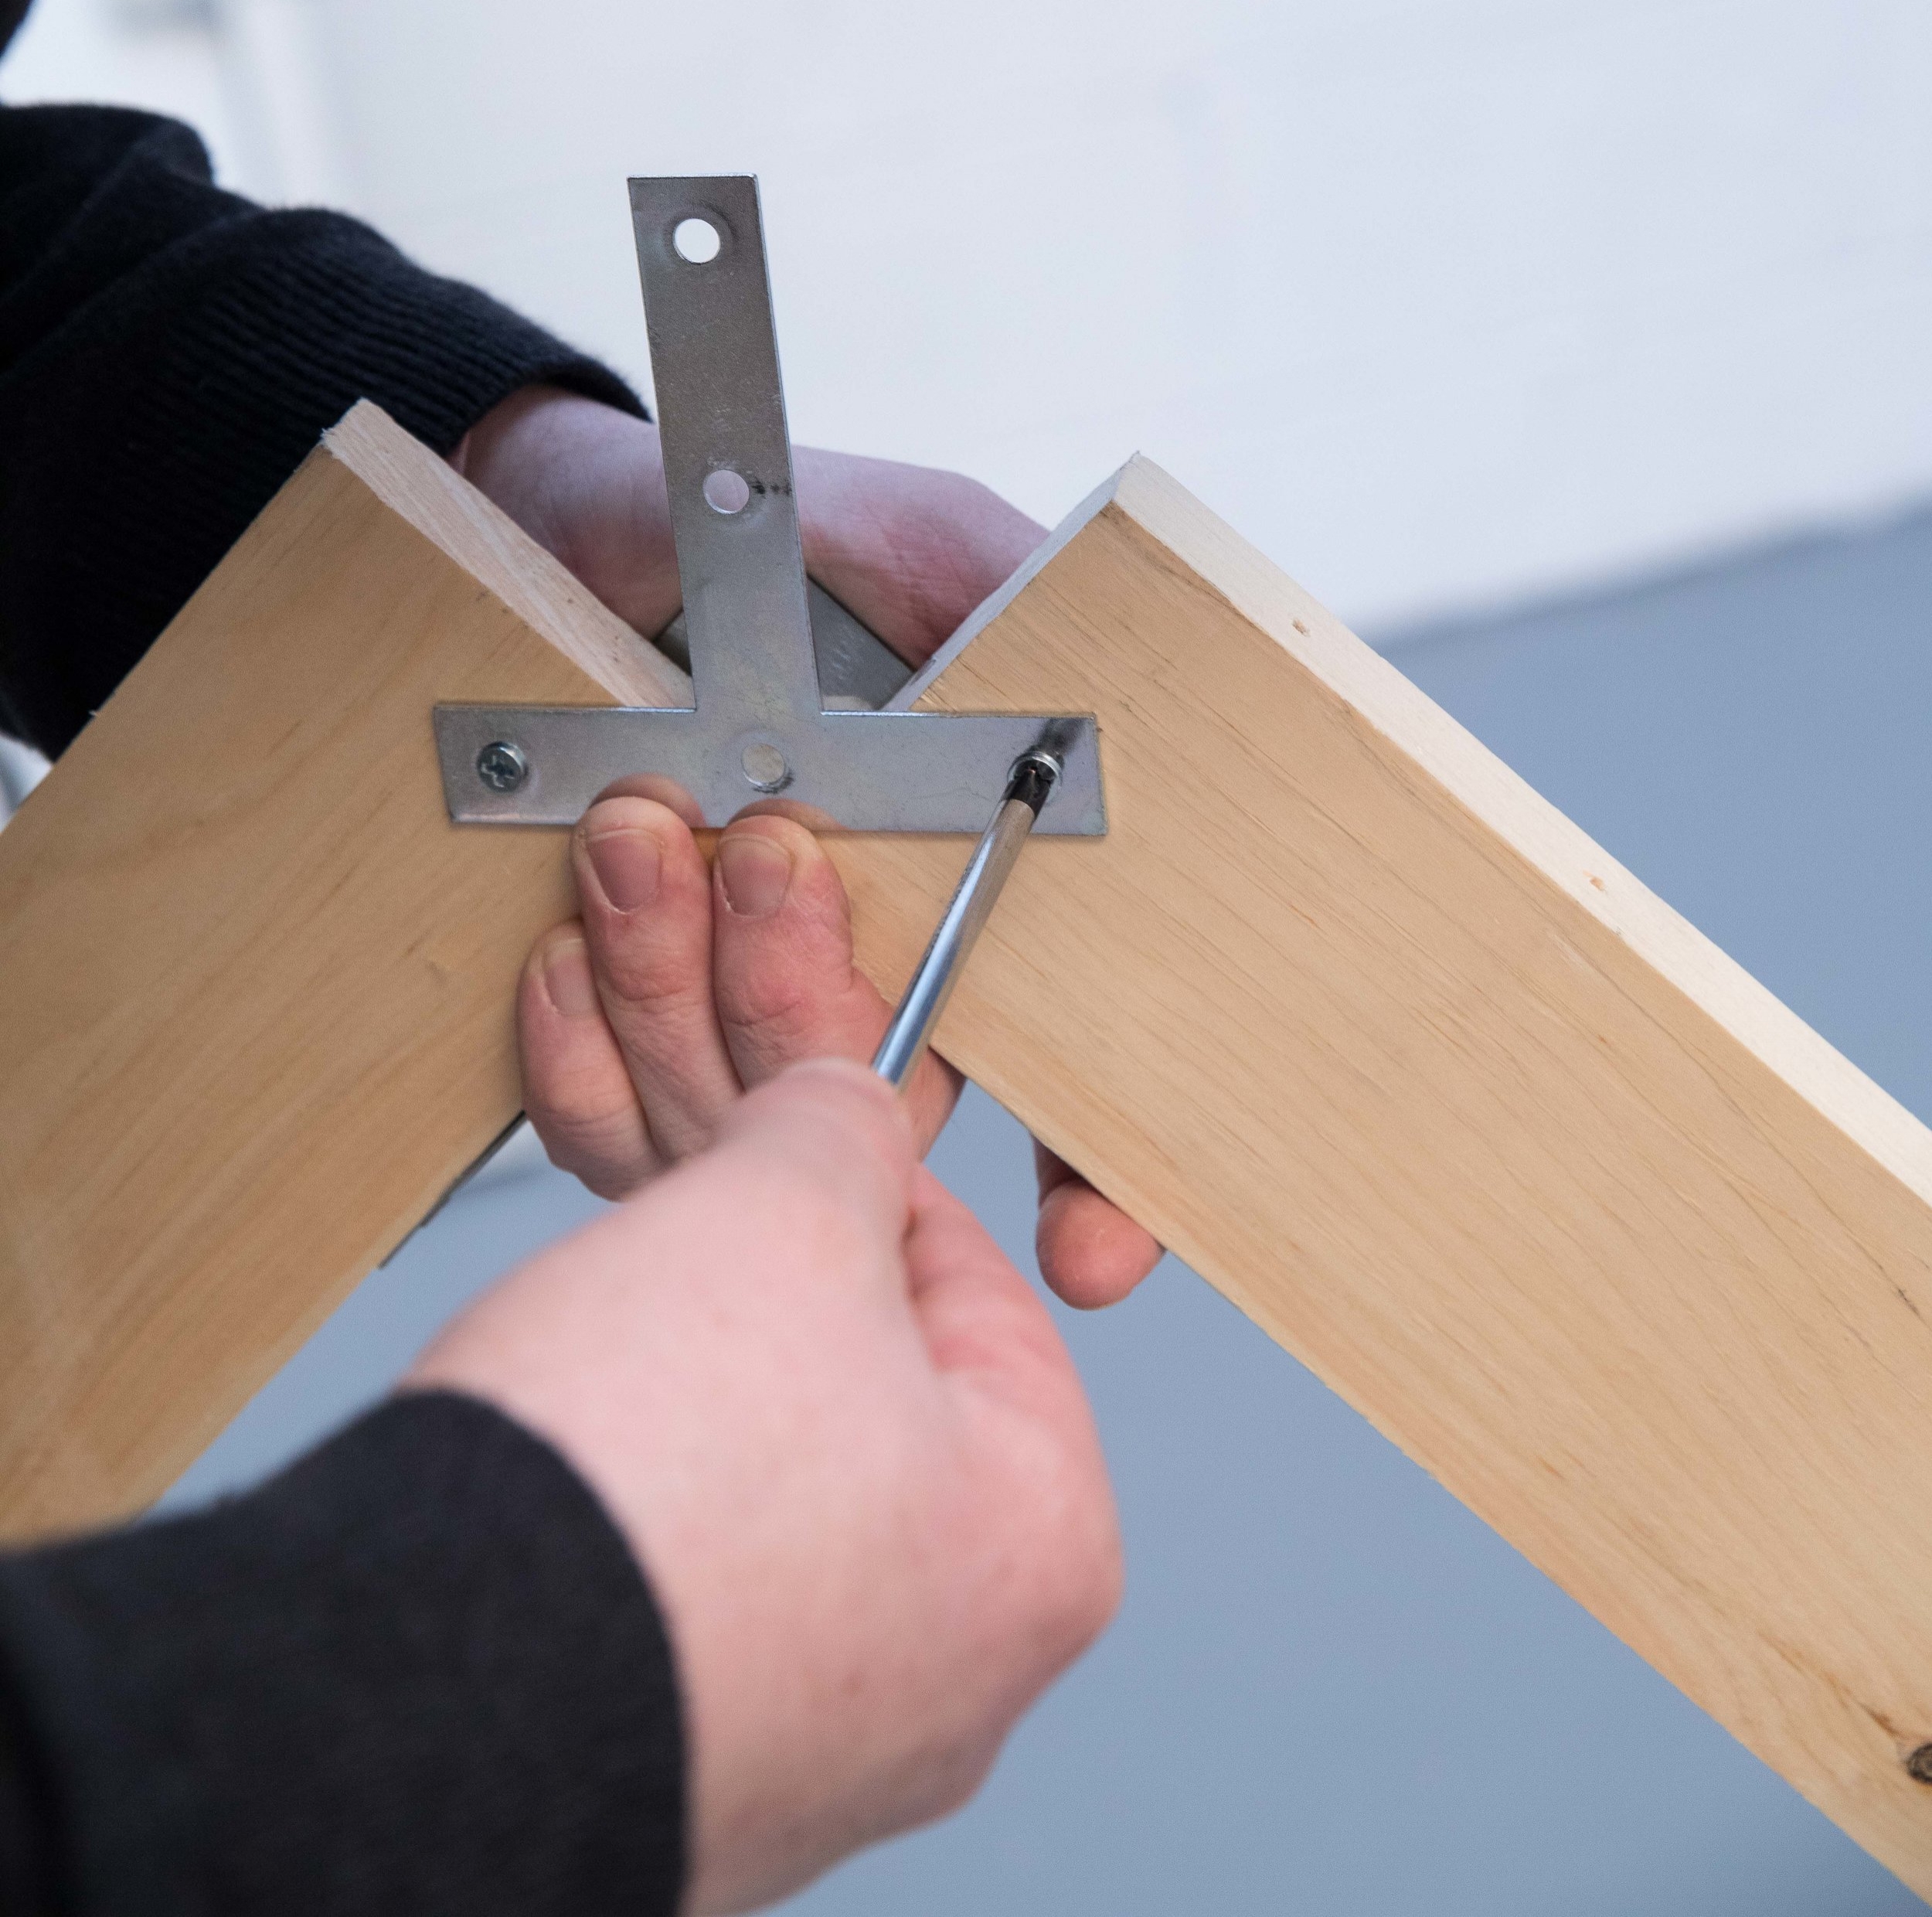
Using one of the bearing brackets, attach the two pieces of wood in place with galvanized nails . Make sure to nail the pieces of wood on the side of the bracket opposite the clamp. The pieces of wood should be at a 90 degree angle and should leave enough room for the bracket to rotate freely.

Step 5:
Once the two pieces of wood have been secured to the bracket, take one of the lumber pieces which you have not yet cut. This will become the cross bar to support the frame. Place it approximately halfway down the lumber structure (outlined in red below) and nail it into place.

Repeat Steps 1-5, making an identical A-frame. After this is done you should have two A-frames and two remaining pieces of individual lumber.
Step 6:
Read this entire step before proceeding
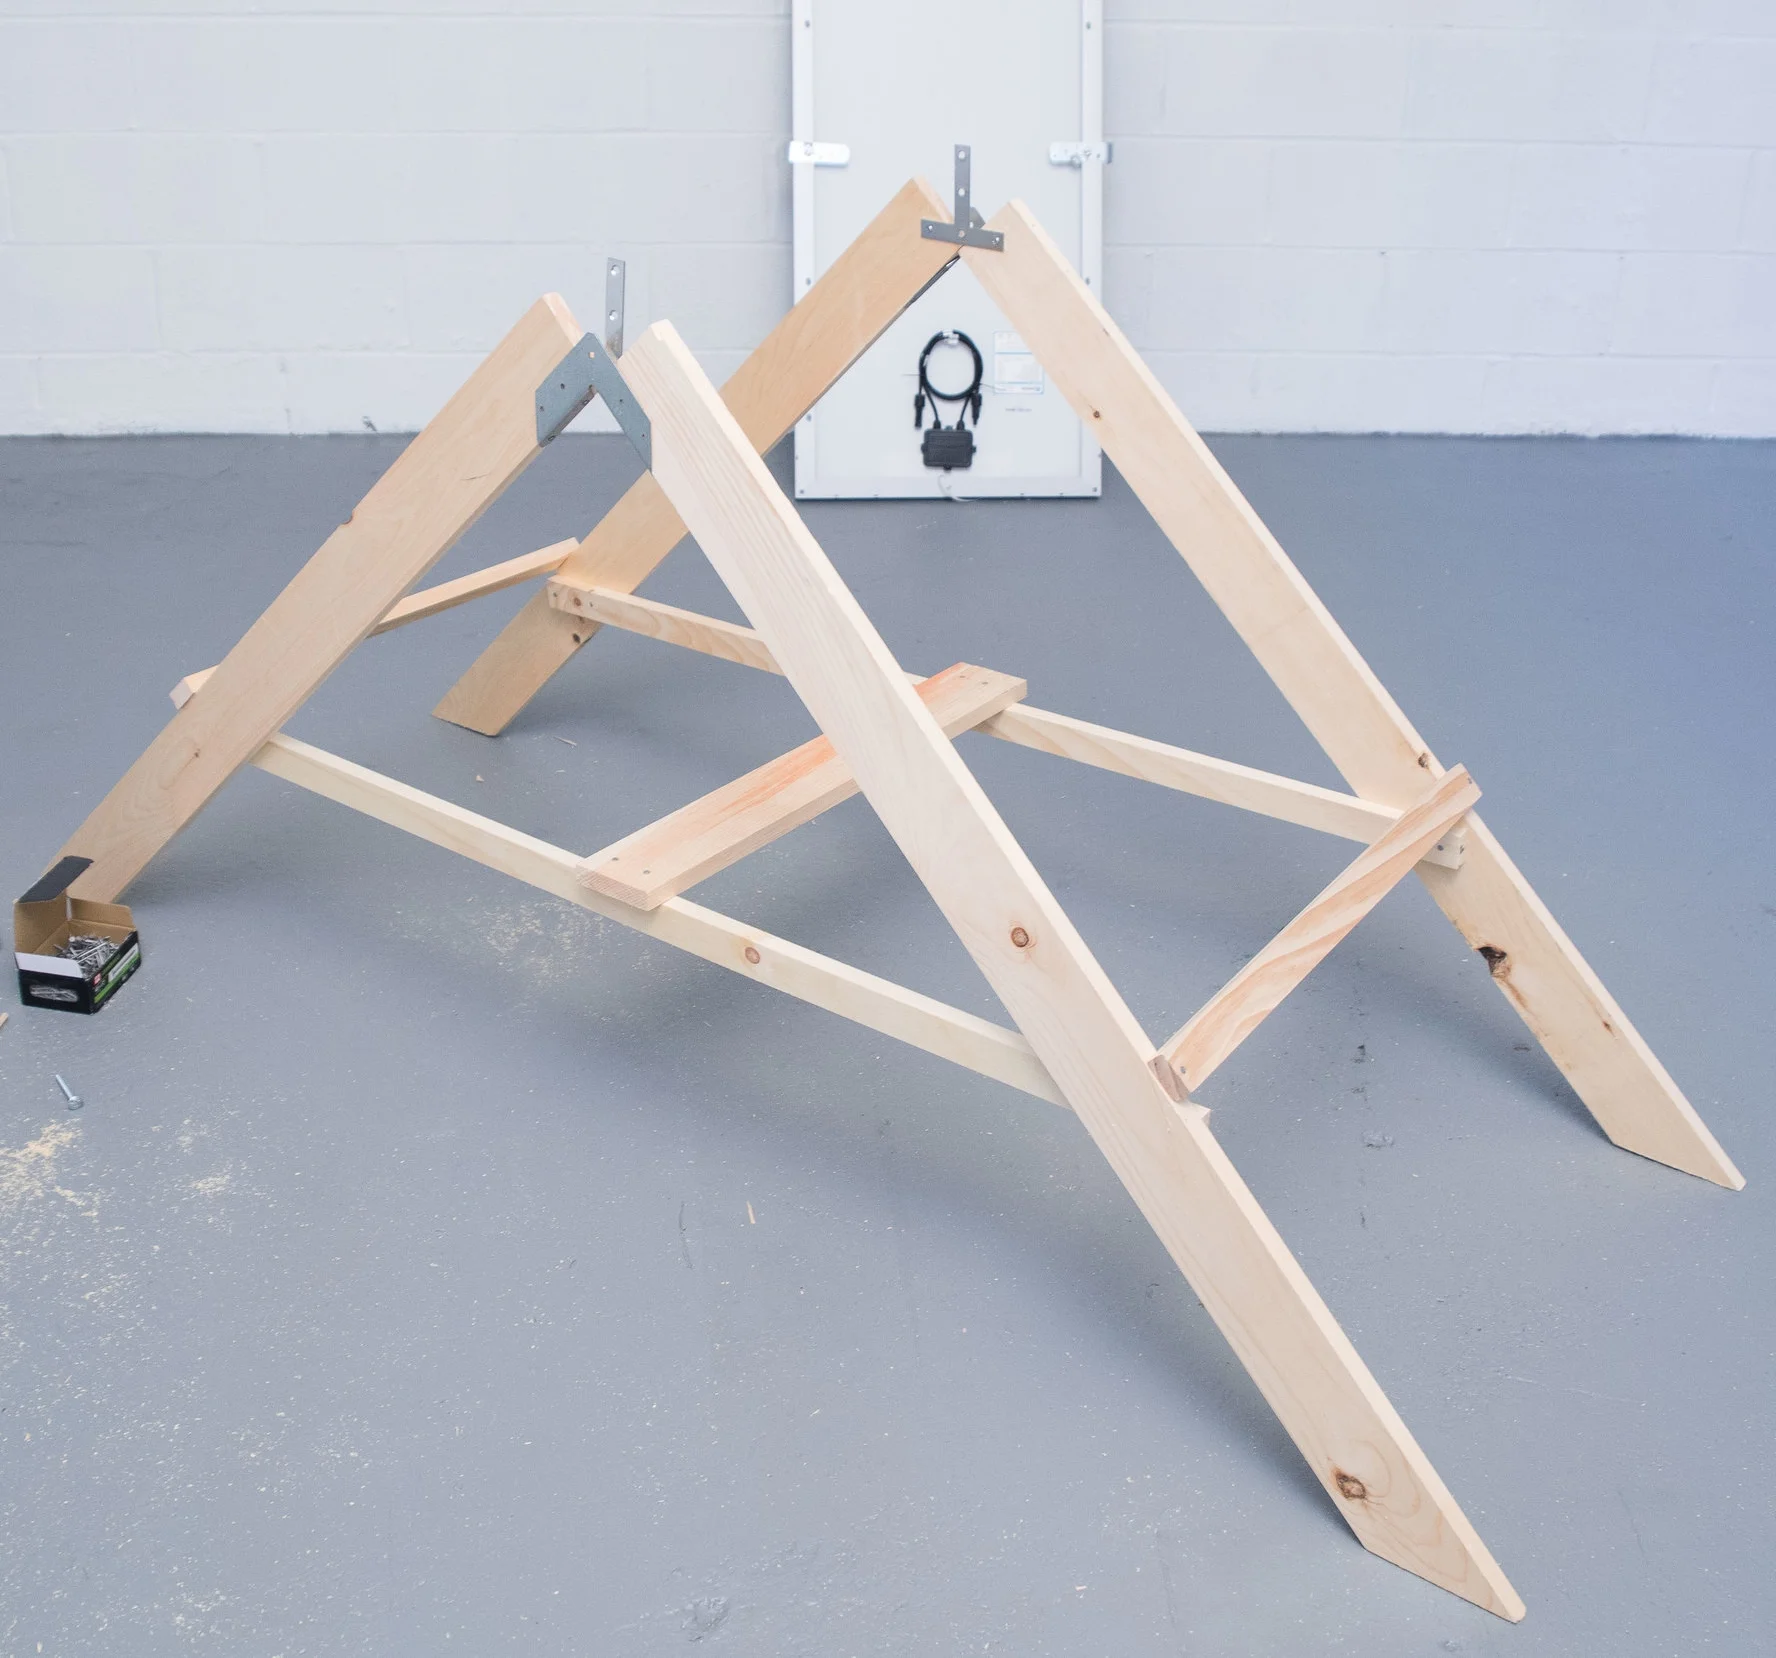
Find a flat location where you would like to setup your SunSaluter. Stand the A-frames up such that the clamps on the bearing brackets are facing inward toward each other. Do NOT permanently secure any more pieces in place yet. Temporarily secure the remaining two pieces of lumber between the A-frames at the points outlined in red using duct tape, twine, or any other material you have

Step 7:
Mount the solar panel onto the SunSaluter with the clamps. The bolts should be on the bottom side of the solar panel, so that tightening the bolts will not damage the solar cells. Be sure that the solar panel is straight and attached in the middle so the device is balanced when no weights are attached. The solar panel should sit just below the center bolt of the bracket when at rest.
Step 8
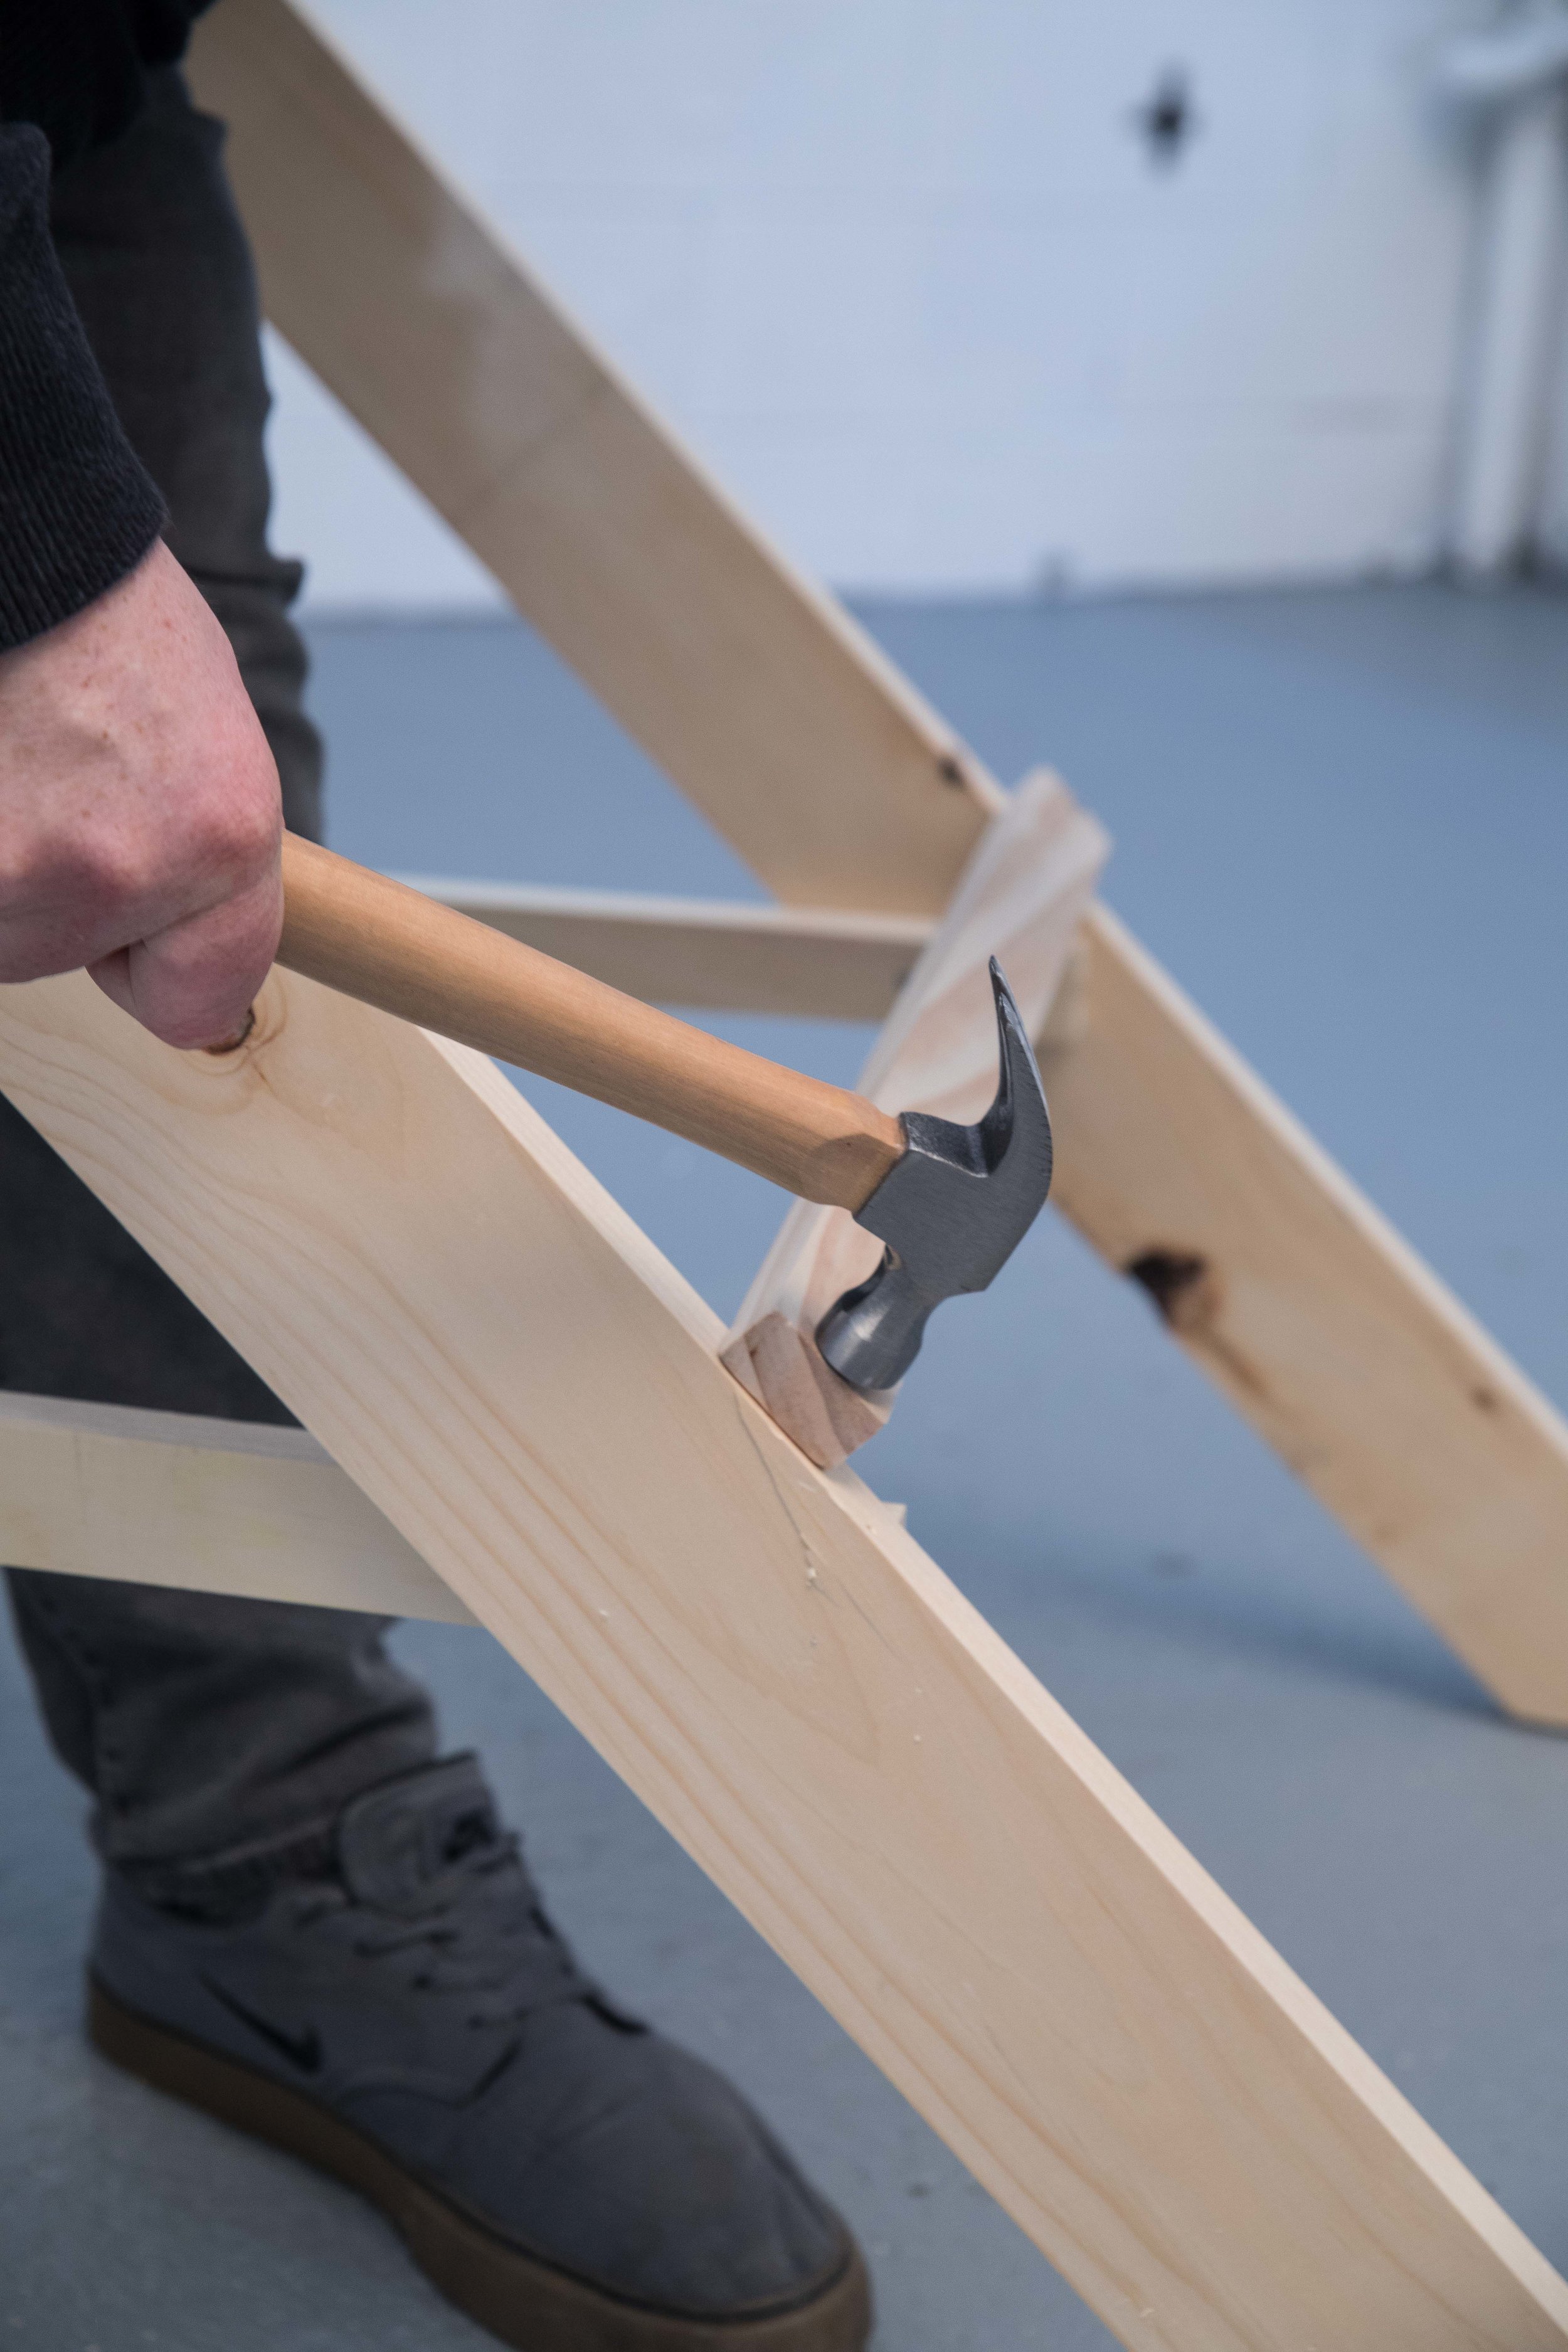
One at a time, remove the temporary fixings and nail the cross beams in place. Once that is done, the SunSaluter frame is complete. Nice work!